This is the fleece I brought to the party, with Karen's hands helping with the tying. She brought her blanket (as a guest!) mostly finished so she had time to help others. Thank you Karen! We had a couple more guests that we are hoping will join as well. Welcome to all!
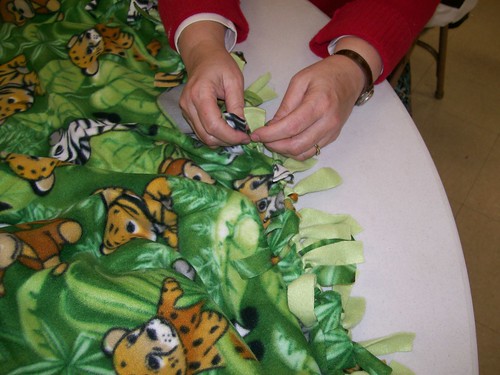
My Grand daughter would be all over this one.
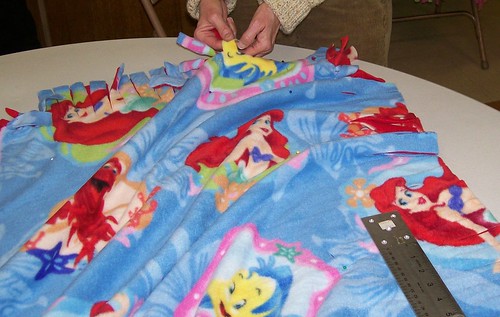
This one would be very acceptable for a "more manly" teenager. You can see the fringes here are shorter than average, but they work fine.

I think this one is adorable. If you look at the tied fringe (on the left) you can see a very nice pattern developing.
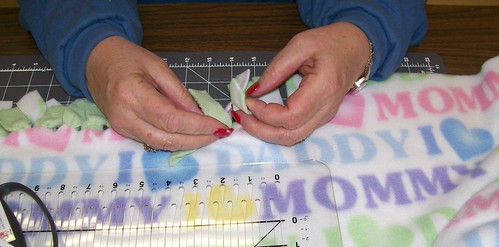
The length of this fringe is about average.
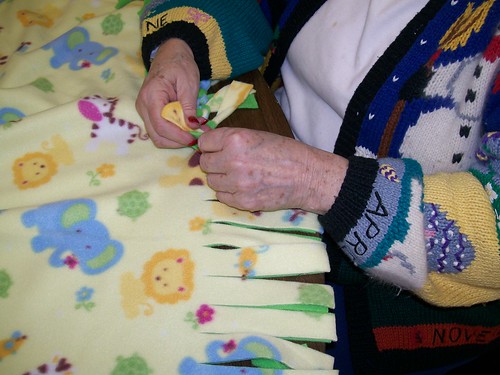

Nancy decided to sit on the floor to do hers. (She promised to launder it before turning it in.) I don't mind sitting on the floor, it's the getting up that is getting harder and harder.
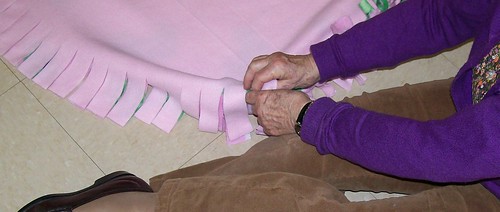
This one used a different knot, taking both pieces of fringe (longer than average) and tying an overhand knot. The fringe does hang very nicely using this method.

Next time: the finished product. See you then! Jane
No comments:
Post a Comment