Tuesday, February 23, 2010

Show and Tell: Carol

These are the items Carol brought for show and tell for the February meeting. In this picture, you can see she's been going to town knitting. There are 4 scarves, 2 hats, and 2 pairs of mittens.

100_1818

Carol taught the lace-making class in January, so in February she had a couple of lace pictures to share. I think the swan wing is beautiful!


100_1817

Thank you Carol for sharing your beautiful things.

Jane

Wednesday, February 17, 2010

Show and Tell: Marj

Marj had an abundance of things to share at the last meeting, as she usually does.

She has a small heart, stitched on felt, that is the design for a class "Learning to Embroidery" she is co-leading in an area YMCA. She is showing a strawberry scissors case. One of the dangling strawberries is an emery to help keep your needles sharp.

100_1816

The two turkeys on a tea towel are turning out to be a series! They are sweetly sharing a bouquet of red roses. On the bottom is a self-portrait.

Thank you for sharing Marj!

Jane

Monday, February 15, 2010

Show and Tell: Barb

Since we didn't have a formal meeting, and we were all having so much fun making blankets, we had a very informal show and tell this month as well. I only got a couple of pictures. Barb made these two bracelets. I think they are both lovely. I always like the turquoise and copper color combination.

100_1819

Thank you for sharing, Barb!

Jane

We Rock!

We completed 26 afghans at our meeting last Monday!

Karen said they would be taken to the children's cancer center's new patient resource box as needed.
Thanks to everyone who participated--give yourself a pat on the back!

Sunday, February 14, 2010

Happy Valentine's Day!


I hope everyone has a lovely Valentine's Day!

Friday, February 12, 2010

Showing off the results; Show and Tell: Marsha

Here's a picture of one of the finished blankets along with a matching pillow. Those teddy bears are so cute!

100_1815

Here three members are inspecting their blankets, getting ready for the group photo.

100_1824

And here are all of us! I counted almost 2 dozen blankets in this picture. You can see from our smiles how much fun we had. Thank you Marj for taking the picture.

100_1825

Next come more show and tell pictures. See you then!

Jane

Wednesday, February 10, 2010

Tying Fringe

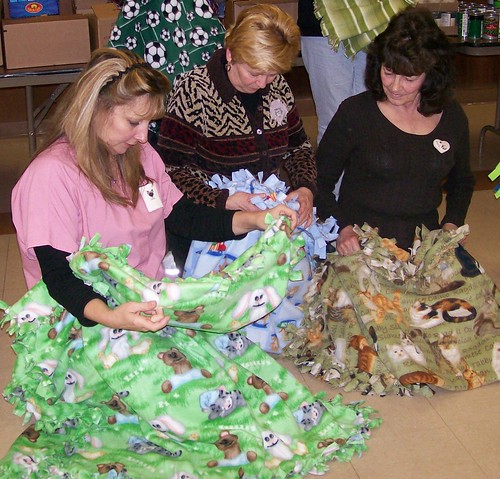
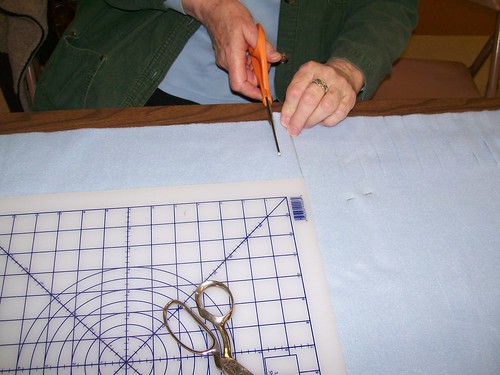
The next step to making a fleece blanket is tying the fringe. There are as many ways to tie the fringe as there were to cut it.

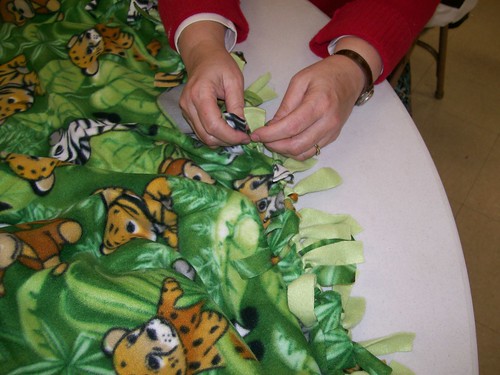
This is the fleece I brought to the party, with Karen's hands helping with the tying. She brought her blanket (as a guest!) mostly finished so she had time to help others. Thank you Karen! We had a couple more guests that we are hoping will join as well. Welcome to all!

100_1800

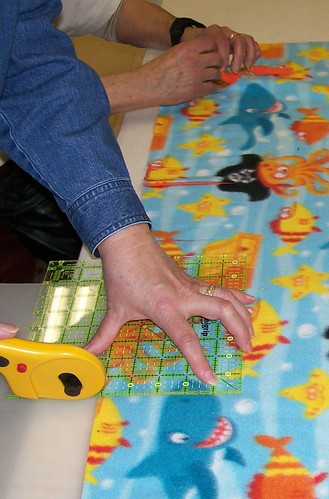
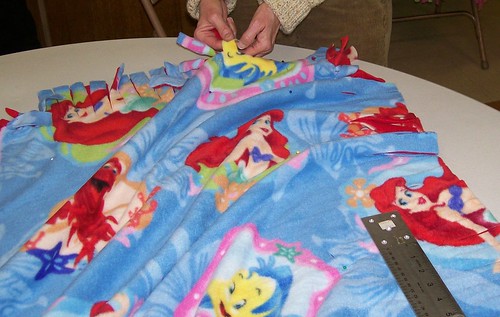
My Grand daughter would be all over this one.

100_1809

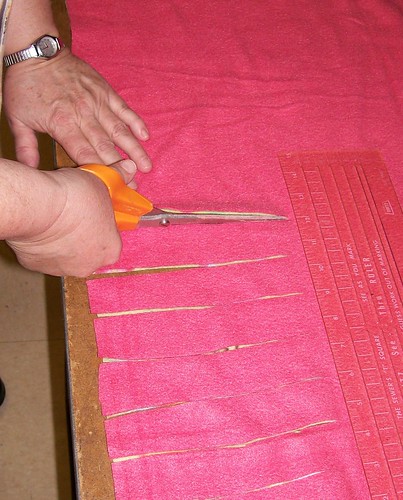
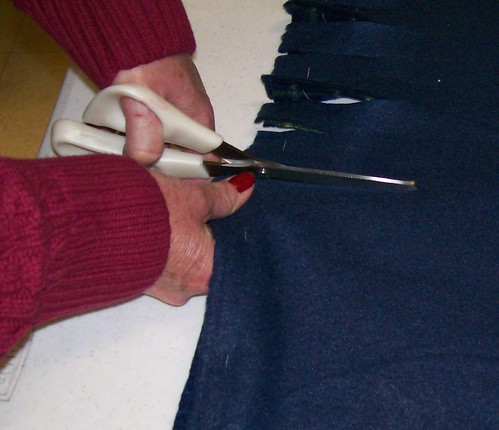
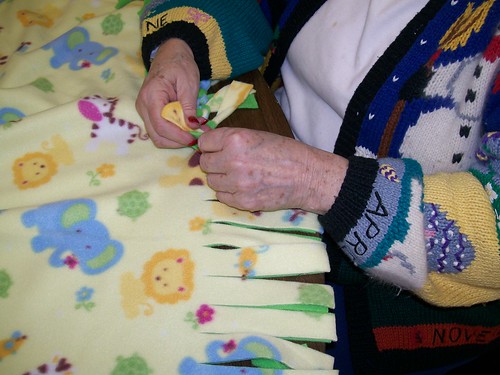
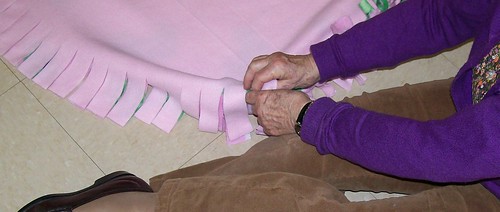
This one would be very acceptable for a "more manly" teenager. You can see the fringes here are shorter than average, but they work fine.

100_1805

I think this one is adorable. If you look at the tied fringe (on the left) you can see a very nice pattern developing.

100_1803

The length of this fringe is about average.

100_1802

100_1811

Nancy decided to sit on the floor to do hers. (She promised to launder it before turning it in.) I don't mind sitting on the floor, it's the getting up that is getting harder and harder.

100_1812

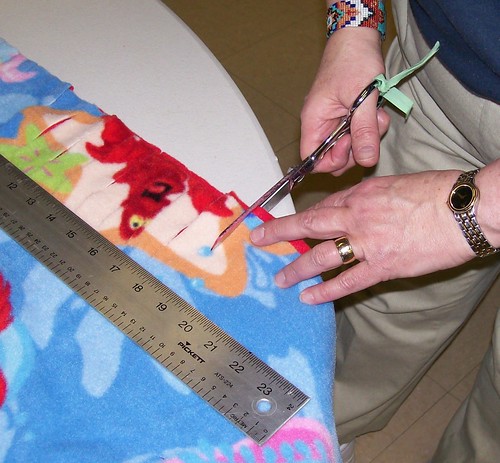
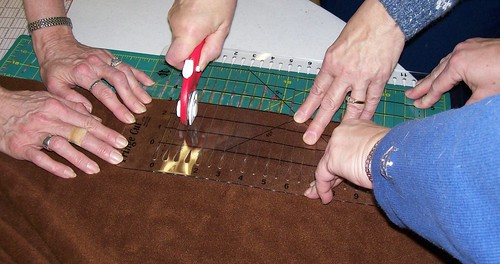
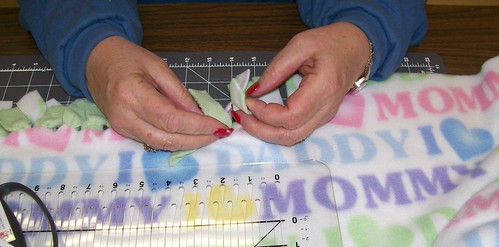
This one used a different knot, taking both pieces of fringe (longer than average) and tying an overhand knot. The fringe does hang very nicely using this method.

100_1801

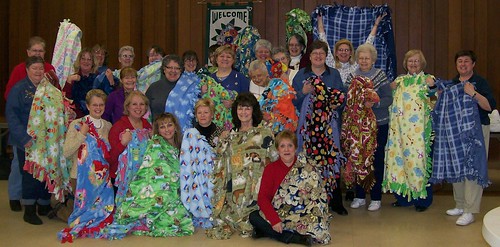
Next time: the finished product. See you then! Jane

Tuesday, February 9, 2010

Making Blankets

We didn't have an official meeting last night, we made blankets for the children's oncology department of a local hospital. They have a treasure chest, and when a child starts chemotherapy they can pick something out of the chest. One of the things they have the most trouble keeping enough of in the treasure chest are fleece blankets; very comforting during your treatment.

The first step is to purchase the fleece, and the second step is to cut fringes around all four sides. As you can see, there were various methods used:

Scissors, using a ruler to mark the depth of the fringe:

100_1814
100_1808
100_1804

Scissors, using your blade to mark the depth of the fringe:

100_1806

A rotary cutter, using an acrylic ruler as a guide:

100_1807

A rotary cutter, using a ruler with slots, and two extra people to hold the ruler down:

100_1810

It was fun to see all the different colors and themes, and we had so much fun visiting and chatting. Next time I will show the next step.

Jane